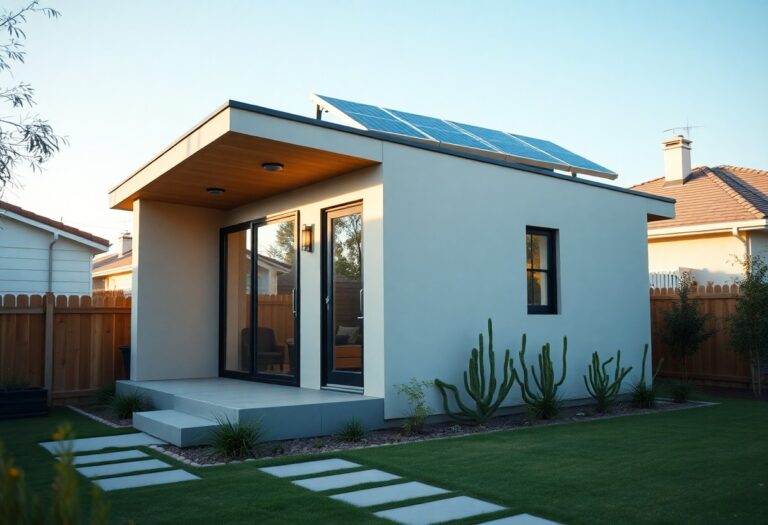
An accessory dwelling unit (commonly shortened to ADU) is a self-contained secondary home built on the same lot as an existing single-family house — think of it as a legally permitted “granny flat,” backyard cottage, or converted garage apartment. If you own property in California, building an accessory dwelling unit is one of the fastest ways to add usable square footage, generate rental income, or house aging parents without moving anyone across town. This guide walks through everything you need — definitions, laws, costs, design, construction, and rental strategy — so you can move from idea to move-in day with confidence.
Key Takeaways
- Research local regulations first. Zoning rules, setback requirements, and permit timelines for an accessory dwelling unit vary widely between California cities and counties.
- Design for efficiency. Smart layouts turn a small footprint into a comfortable, fully functional home — see our guide on space-saving ADU design strategies for practical layout tricks.
- Line up financing before you break ground. Home equity loans, construction loans, and state-backed grant programs can all fund an accessory dwelling unit build.
- For a room-by-room breakdown of converting existing space, see our 2-Car Garage ADU Conversion: Complete Planning Guide.
What Is an Accessory Dwelling Unit?
An accessory dwelling unit is a complete, independent living space — with its own kitchen, bathroom, and entrance — situated on the same parcel as a primary residence. Unlike a spare bedroom, an ADU can be legally rented, sold in some jurisdictions as part of a condo conversion, or occupied as a fully separate household. In California, state law defines an accessory dwelling unit as a unit that provides “complete independent living facilities,” which is the legal line that separates an ADU from a simple home addition.
Consequently, understanding this distinction matters: it determines which building codes, utility hookups, and permit categories apply to your project. As a result, many homeowners consult the Accessory Dwelling Unit resources published by California’s Department of Housing and Community Development before finalizing plans.
Types of Accessory Dwelling Units
Not every accessory dwelling unit looks the same. Depending on your lot, budget, and goals, you’ll typically choose from one of the following configurations:
| Detached ADU | A stand-alone structure separate from the main house — often a backyard cottage. |
| Attached ADU | A unit that shares one or more walls with the primary residence. |
| Junior ADU (JADU) | A smaller unit, typically 500 square feet or less, built within the existing walls of the home. |
| Garage Conversion ADU | An existing attached or detached garage transformed into a livable unit. |
| Basement ADU | A living unit built within an existing basement footprint. |
Each type carries different cost, permitting, and design implications. For instance, a garage conversion generally costs less than new detached construction because the foundation and roof already exist. However, a detached ADU offers more privacy and flexibility for rental use. If you’re weighing these trade-offs, browse real completed layouts in our ADU design examples in Irvine for inspiration.
Accessory Dwelling Unit vs. Junior ADU vs. Granny Flat
Homeowners often use “granny flat,” “in-law suite,” and “accessory dwelling unit” interchangeably, but there are legal distinctions worth knowing. A granny flat is simply a colloquial term for any ADU. A Junior ADU (JADU), on the other hand, is a legally distinct category in California — it must be created within the existing walls of the primary home, is capped at 500 square feet, and may share a bathroom with the main house. In contrast, a standard ADU can be newly constructed, detached, and up to 1,200 square feet or more depending on local ordinance. Knowing which category your project falls into changes your permitting path, parking requirements, and owner-occupancy rules.
Why Build an Accessory Dwelling Unit? Key Benefits
Building an accessory dwelling unit unlocks value that a simple remodel can’t match. First and most obviously, an ADU adds usable living space without requiring you to buy a new property. In addition, it can generate meaningful rental income — many California homeowners recoup construction costs within five to eight years of steady rental use.
Beyond income, an accessory dwelling unit provides flexible housing for aging parents, adult children, or long-term guests, all while preserving everyone’s privacy and independence. Similarly, appraisers increasingly recognize ADUs as a factor that boosts resale value — for a full breakdown of the numbers, read our analysis of how ADUs add property value. Investors, meanwhile, view ADUs as a way to increase per-lot rental yield without purchasing additional land; our piece on ADUs from an investor’s perspective covers cap rates and cash-flow math in detail.
Accessory Dwelling Unit Laws and Zoning Regulations in California
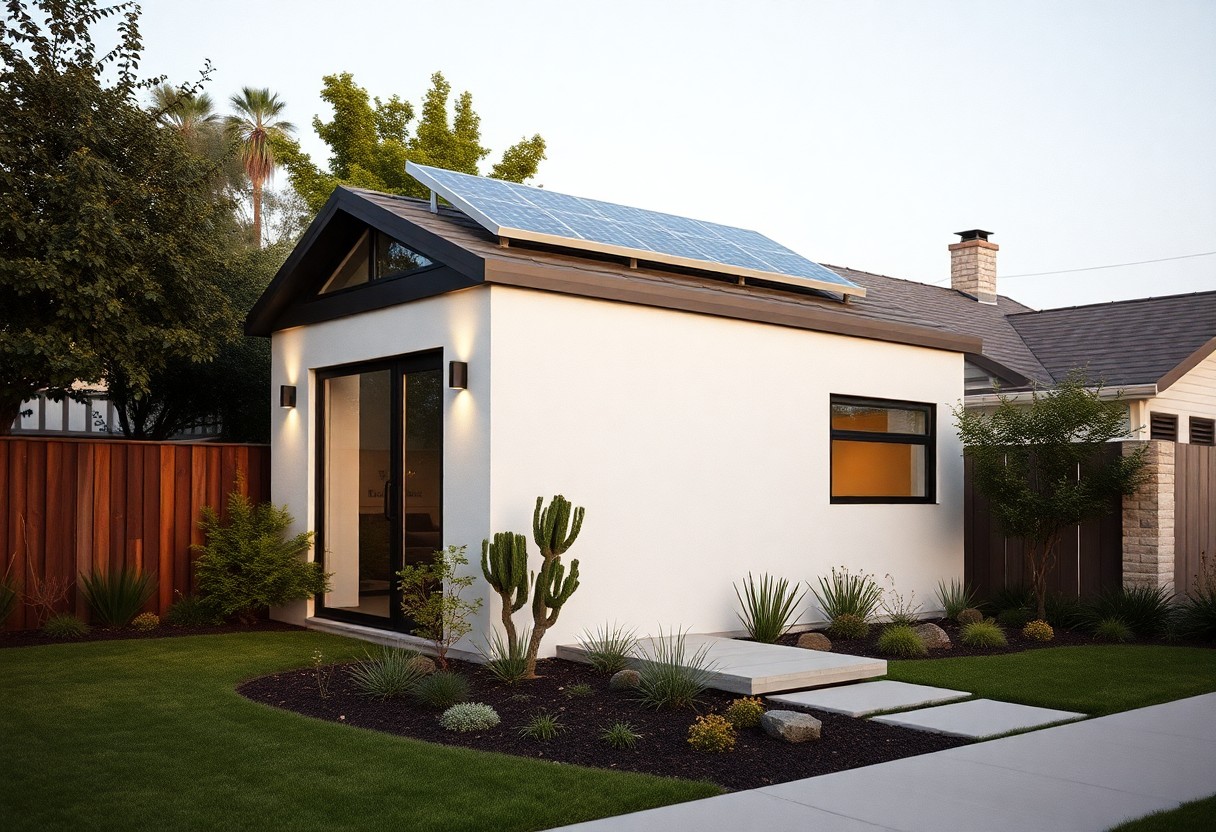
Every California city and county enforces its own setback distances, height limits, and parking rules for an accessory dwelling unit — but state law sets a firm floor beneath all of them. Understanding both layers of regulation is the single most important step before you draw a single floor plan.
California State Law on ADUs
Since 2017, a series of state laws (including Assembly Bills 68, 587, and 671) has systematically stripped away local barriers that once made ADU construction difficult. As a result, cities and counties can no longer impose owner-occupancy requirements on most ADUs, cannot require minimum lot sizes for eligibility, and must approve compliant applications ministerially — meaning without a discretionary public hearing — within 60 days. Furthermore, state law caps parking requirements and, in many cases, eliminates them entirely for units near public transit. You can review the source legislation and current guidance directly through the Accessory Dwelling Unit program page maintained by California’s HCD, or consult the state’s official legislative record at leginfo.legislature.ca.gov for the exact bill text.
Local Ordinances and the Permitting Process
Although state law sets the baseline, local ordinances still shape the finer details — things like maximum unit size, architectural design standards, and utility connection fees. Therefore, before submitting plans, check your specific city or county’s ADU ordinance page; requirements in Los Angeles, for example, differ from those in Sacramento or San Diego. If you’re planning near Westminster, our page on ADU plans in Westminster outlines the local approval steps in detail.
In practice, the permitting process usually includes a plan submission, plan-check review, payment of impact fees, and a series of inspections during construction. Consequently, working with a designer familiar with your jurisdiction’s checklist can shave weeks off your timeline and prevent costly resubmissions.
How Much Does an Accessory Dwelling Unit Cost?
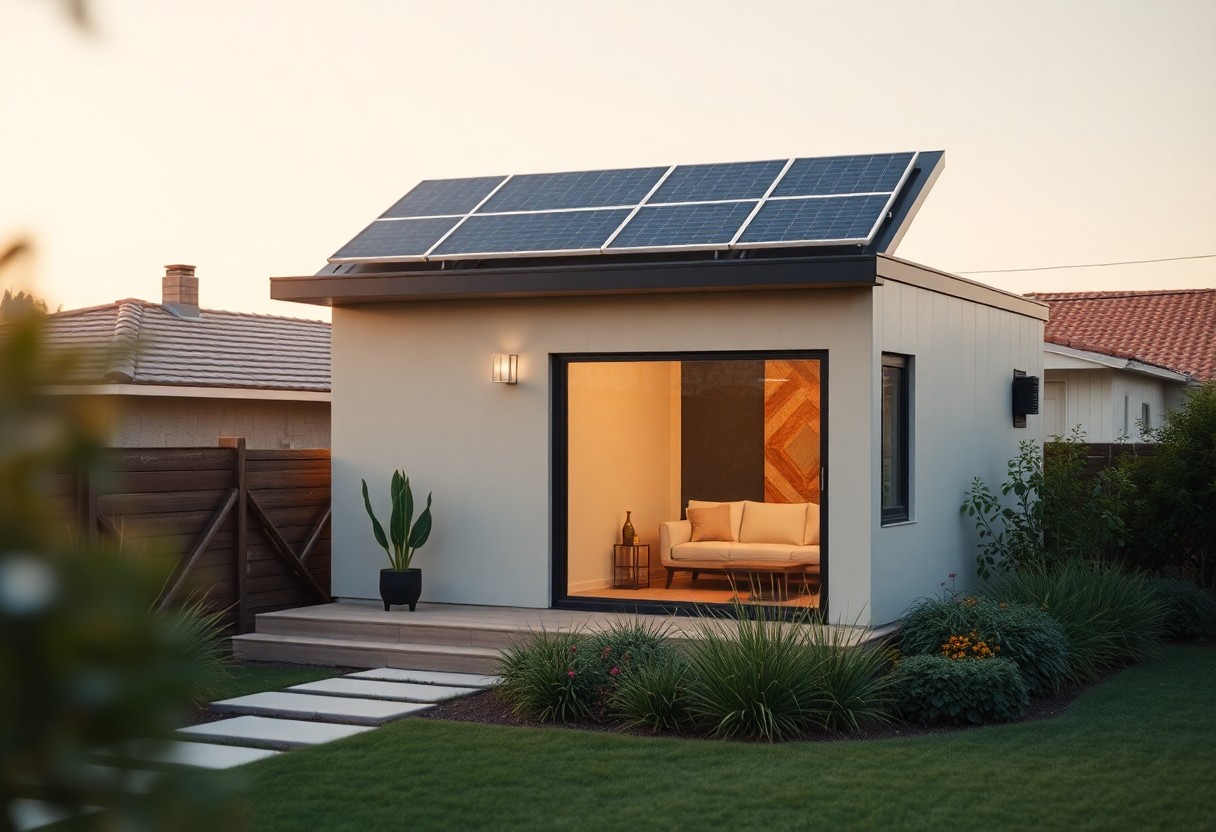
Cost is usually the first question homeowners ask, and understandably so — pricing for an accessory dwelling unit in California typically ranges from around $150,000 for a garage conversion to well over $400,000 for a custom detached unit with premium finishes. For a complete, up-to-date price breakdown by unit type and region, see our Accessory Dwelling Unit Cost Estimate: 2026 Pricing Guide.
Building a Realistic Budget
Above all, an accurate budget needs to include more than construction costs. Design fees, permit fees, utility hookup charges, soil testing, and a contingency reserve of at least 10-15% should all be part of your plan. Otherwise, unexpected costs — like discovering old plumbing that needs replacement mid-project — can derail your financing.
Financing Options and Grant Programs
Fortunately, homeowners have several ways to fund an accessory dwelling unit build. Common options include:
- Home equity loans or HELOCs — borrowing against existing equity, often at lower rates than personal loans.
- FHA 203(k) rehabilitation loans — combining purchase and renovation costs into a single mortgage.
- Dedicated construction loans — short-term financing that converts to permanent financing once the ADU is complete.
- State and local grant programs — including California’s CalHFA ADU Grant Program, which has historically reimbursed pre-construction costs for qualifying homeowners.
- Contractor financing or personal savings — useful for smaller conversion projects with lower overall cost.
Consequently, comparing two or three financing paths side-by-side — rather than settling for the first offer — typically saves thousands of dollars over the life of the loan.
Designing Your Accessory Dwelling Unit
Designing an accessory dwelling unit is where function meets personality. Because ADUs typically occupy a smaller footprint than a primary residence, every square foot needs to earn its place.
Architectural Considerations
In particular, roof pitch, building height, and exterior materials should echo the primary residence to maintain visual harmony with the neighborhood — a detail many local design review boards specifically look for. Similarly, energy-efficient materials such as insulated concrete forms, high-performance windows, and heat-pump water heaters reduce long-term utility costs while satisfying California’s Title 24 energy code, a state building standard that governs efficiency requirements for new construction (learn more via the building science overview on Wikipedia).
Maximizing Space and Functionality
Given the compact footprint of most accessory dwelling units, smart layout choices matter more here than in a full-sized home. Multi-functional furniture — like murphy beds and fold-down tables — frees up daytime living space. Vertical storage, meanwhile, keeps floors clear while maximizing accessible square footage. Strategically placed windows and skylights add natural light, which makes even a 400-square-foot unit feel open and livable. For a deeper walkthrough of layout strategy, our guide to space-saving ADU design strategies covers specific floor plans that maximize both comfort and reliability.
The Accessory Dwelling Unit Construction Process
Once permits are approved, construction of an accessory dwelling unit generally takes four to eight months, depending on unit type and complexity. Clear communication with your contractor, careful adherence to code, and a realistic inspection schedule all keep the project on track.
Hiring Contractors vs. DIY
If you have hands-on construction experience, a DIY approach to certain finish work can reduce costs. However, for structural, electrical, and plumbing work, hiring a licensed contractor experienced specifically with ADUs is almost always the safer route — it minimizes code violations and keeps your inspection schedule moving.
Timeline and Project Management
To avoid slippage, set clear milestones — foundation, framing, rough-in inspections, drywall, and final inspection — and check in with your contractor at each stage. In addition, build flexibility into your schedule for weather delays or supply-chain hiccups, both of which are common in ADU construction across California.
How to Build an Accessory Dwelling Unit: Step-by-Step
Here is the complete process, from research to move-in, condensed into six actionable steps:
- Research local zoning and building regulations thoroughly — confirm your city or county’s specific ADU ordinance, setback rules, and maximum allowable square footage before designing anything.
- Choose a design that maximizes space efficiency — select a unit type (detached, attached, garage conversion, or JADU) that matches your lot size and budget.
- Secure financing that fits your budget and timeline — compare home equity loans, construction loans, and available state grant programs before committing to a lender.
- Hire experienced professionals for design and construction — work with an architect and licensed contractor who has completed ADU projects in your specific jurisdiction.
- Incorporate energy-efficient features to lower long-term costs — install high-performance windows, efficient HVAC, and proper insulation to meet Title 24 requirements and reduce utility bills.
- Communicate proactively with neighbors and inspectors — sharing your plans early reduces friction during construction and helps final inspections go smoothly.
Renting Out Your Accessory Dwelling Unit
Because an accessory dwelling unit is a fully independent living space, it can be rented just like any other residential unit — provided you comply with local zoning, rental registration, and tenant-protection laws.
Managing Your ADU as a Rental Property
Effective rental management starts with thorough tenant screening, a clear lease agreement, and consistent communication about house rules and maintenance responsibilities. Consequently, treating your ADU like a professional rental — not an informal arrangement — protects both your investment and your relationship with tenants.
Short-Term vs. Long-Term Rentals
Short-term rentals can generate higher nightly rates, but they also bring more frequent turnover, cleaning demands, and potential local restrictions on short-term occupancy. Long-term rentals, in contrast, provide steadier cash flow with less day-to-day management. Therefore, weighing your income goals against the time you can realistically commit will help determine which strategy suits your accessory dwelling unit best.
Common Mistakes to Avoid When Building an Accessory Dwelling Unit
Even experienced homeowners run into avoidable snags. Skipping a pre-application meeting with the local planning department, underestimating utility connection fees, and choosing a contractor without verified ADU-specific experience are among the most common — and most expensive — mistakes. Similarly, failing to plan for parking or storage before construction begins often forces costly redesigns mid-project. Above all, involving a designer who understands both your city’s ordinance and California’s state ADU law from day one prevents the vast majority of these setbacks.
Final Thoughts
Building an accessory dwelling unit successfully comes down to three things: understanding the layered zoning rules that govern your property, budgeting realistically for design and construction, and partnering with professionals who know the ADU process inside and out. With careful planning, an accessory dwelling unit can add lasting value to your property, generate reliable rental income, and give your family flexible living options for years to come.
Frequently Asked Questions About Accessory Dwelling Units
What are the primary steps involved in building an accessory dwelling unit in California?
Building an accessory dwelling unit typically involves five stages: researching local zoning regulations, designing a compliant floor plan with an architect or designer, submitting plans for a building permit, completing construction with a licensed contractor, and passing a final inspection before occupancy approval.
How can I finance the construction of an ADU in California?
Common financing paths include home equity loans or HELOCs, FHA 203(k) rehabilitation loans, dedicated construction loans, personal savings, and state or local grant programs aimed at expanding affordable housing stock.
What size can an accessory dwelling unit be in California?
State law generally allows detached ADUs up to 1,200 square feet, while Junior ADUs are capped at 500 square feet since they must be built within the existing walls of the primary home. However, some local ordinances impose additional size limits, so always confirm with your city or county planning department.
Do I need to live on the property to build an accessory dwelling unit?
In most cases, no. Current California law suspends owner-occupancy requirements for most ADUs built between 2020 and 2025, though this provision is subject to periodic legislative renewal, so it’s worth verifying the latest status with your local building department.
What are the common challenges faced during the ADU construction process?
Frequent challenges include navigating zoning compliance, securing financing when equity is limited, weather- or supply-related construction delays, permitting hurdles that require additional documentation, and occasional community pushback during the approval process.