Learning how to design custom ADU floor plans starts long before anyone picks a paint color or countertop finish. It begins with your lot’s dimensions, your city’s zoning code, and the goals driving the project — whether that’s rental income, multigenerational housing, or extra space for a growing family. For homeowners across Orange County, Los Angeles County, and western Riverside County, getting the floor plan right the first time saves months of redesign and thousands of dollars in wasted permit fees. This guide walks through the practical steps a design-build team uses to turn a bare lot or garage into a livable, code-compliant accessory dwelling unit.
What Is a Custom ADU Floor Plan?
A custom ADU floor plan is a site-specific architectural layout designed around a particular lot’s shape, setbacks, and utility connections rather than pulled from a generic template. In practice, this means the kitchen, bathroom, bedroom, and storage areas are arranged to fit the exact buildable envelope of your property while meeting California’s Title 24 energy code and local building department requirements.
Unlike a stock plan, a custom layout accounts for things like an odd-shaped backyard, an existing garage footprint, or a sloped lot. As a result, the finished unit uses available square footage more efficiently and avoids costly redesigns during plan check.
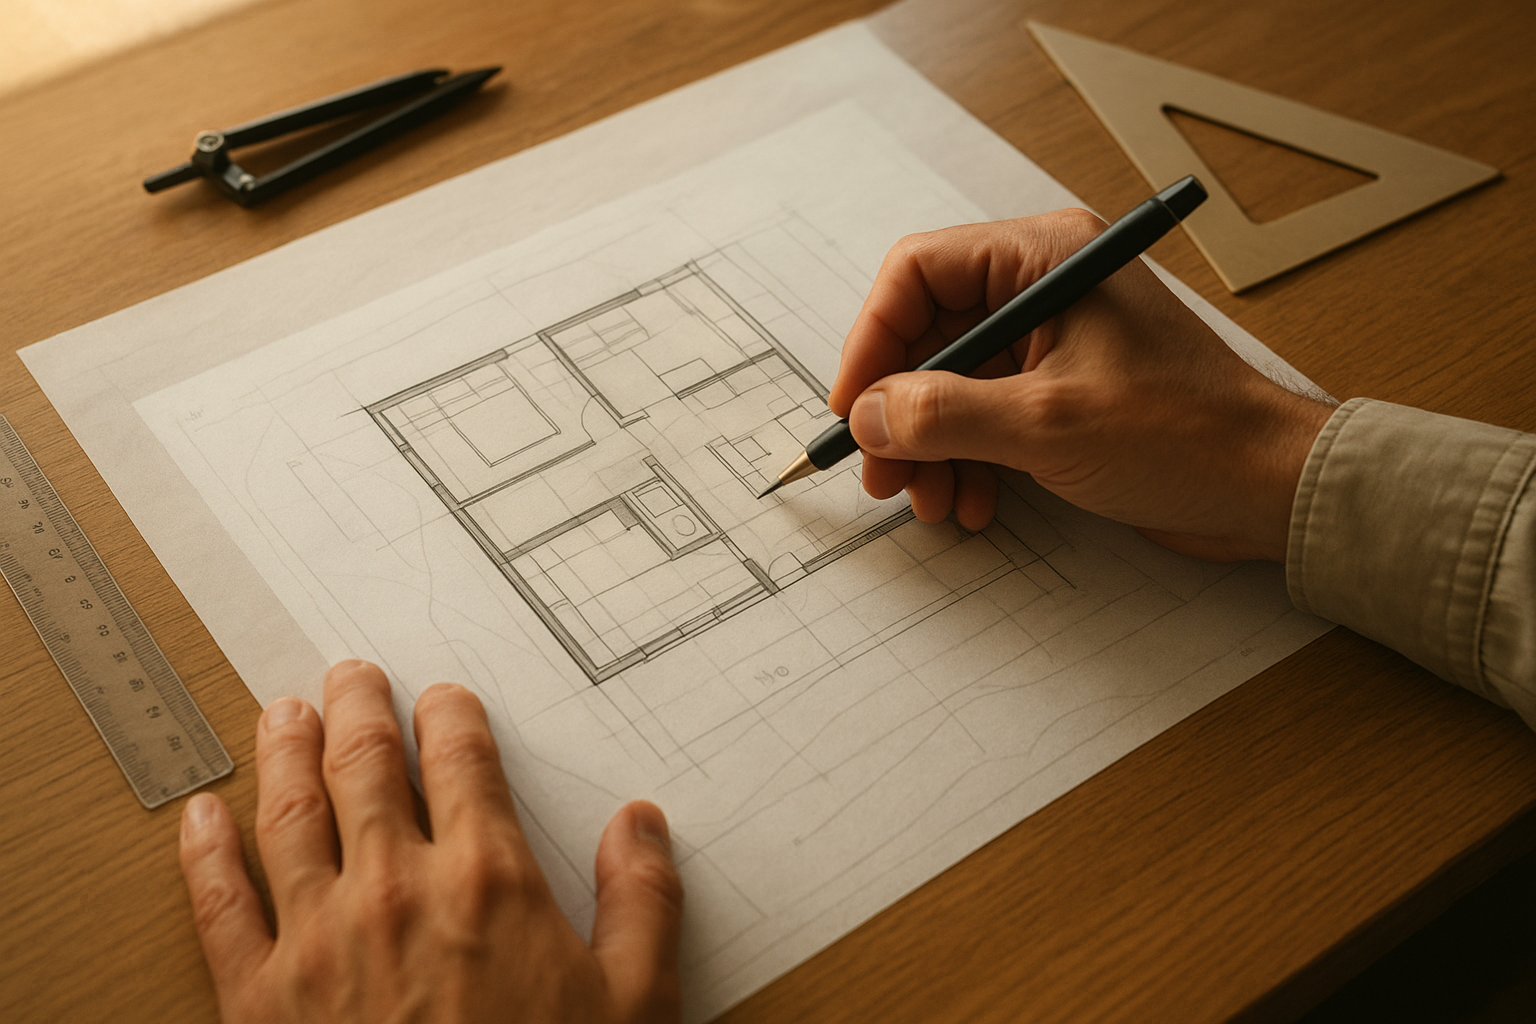
Careful site measurements are the first move in how to design custom ADU floor plans that actually fit a lot.
How to Design Custom ADU Floor Plans in 7 Steps
Most homeowners find it helpful to see the process broken into clear stages. Below is the sequence a design-build contractor typically follows when creating a permit-ready ADU floor plan.
- Complete a site assessment. A contractor or designer measures the lot, identifies setbacks, utility locations, and slope, then confirms whether the property is eligible for a detached, attached, or garage-conversion ADU under local zoning rules.
- Define the household goals. Decide whether the unit is meant for rental income, aging parents, adult children, or guests, since this determines bedroom count, privacy needs, and separate-entry requirements.
- Set the target square footage. California law generally allows detached ADUs up to 1,200 square feet, so the design team maps room sizes against that ceiling and the homeowner’s budget.
- Draft a preliminary layout. The designer sketches room placement, window locations, and circulation paths, then reviews the layout with the homeowner before moving into engineering.
- Coordinate structural engineering. A structural engineer confirms foundation type, framing, and load calculations so the plan is buildable and meets California’s seismic requirements.
- Verify Title 24 energy compliance. Windows, insulation, and mechanical systems are checked against the state’s energy code, which is a mandatory step before permit submittal.
- Submit for permit review. The finalized plan set is submitted to the city or county building department, which reviews it against local zoning, fire, and building code standards prior to issuing a permit.
Homeowners who want a closer look at this workflow can review this permit-ready plan design service for a detailed breakdown of each stage.
Key Factors That Shape Your ADU Floor Plan Layout
Several site conditions influence how a floor plan comes together. First, lot shape and setback requirements determine the maximum buildable footprint. Second, the location of existing utility lines — sewer, water, and electrical — often dictates where the kitchen and bathroom can realistically sit, since relocating utilities adds cost.
In addition, the intended use of the unit matters. A rental unit typically needs a more efficient, self-contained layout, while a multigenerational suite might prioritize a larger bedroom and accessible bathroom features. Similarly, homeowners converting a garage face different constraints than those building a new detached structure, since existing walls, ceiling height, and slab conditions limit how much the layout can change. Browsing sample ADU floor plan examples can help clarify what’s realistic for a given lot before design work begins.
Detached vs. Attached ADU Floor Plans: What Changes
Detached ADUs generally offer the most design freedom because the structure is separate from the primary home and can be positioned anywhere the lot allows within setback rules. Consequently, homeowners often choose detached units when privacy or rental independence is the priority.
Attached ADUs and second-story additions, on the other hand, must integrate with the existing home’s structure, roofline, and entry points. Therefore, the floor plan has to work around shared walls, existing plumbing stacks, and structural load paths. Garage conversions fall somewhere in between: the shell already exists, but the layout must still meet ceiling height, egress, and parking-replacement requirements set by the local jurisdiction.
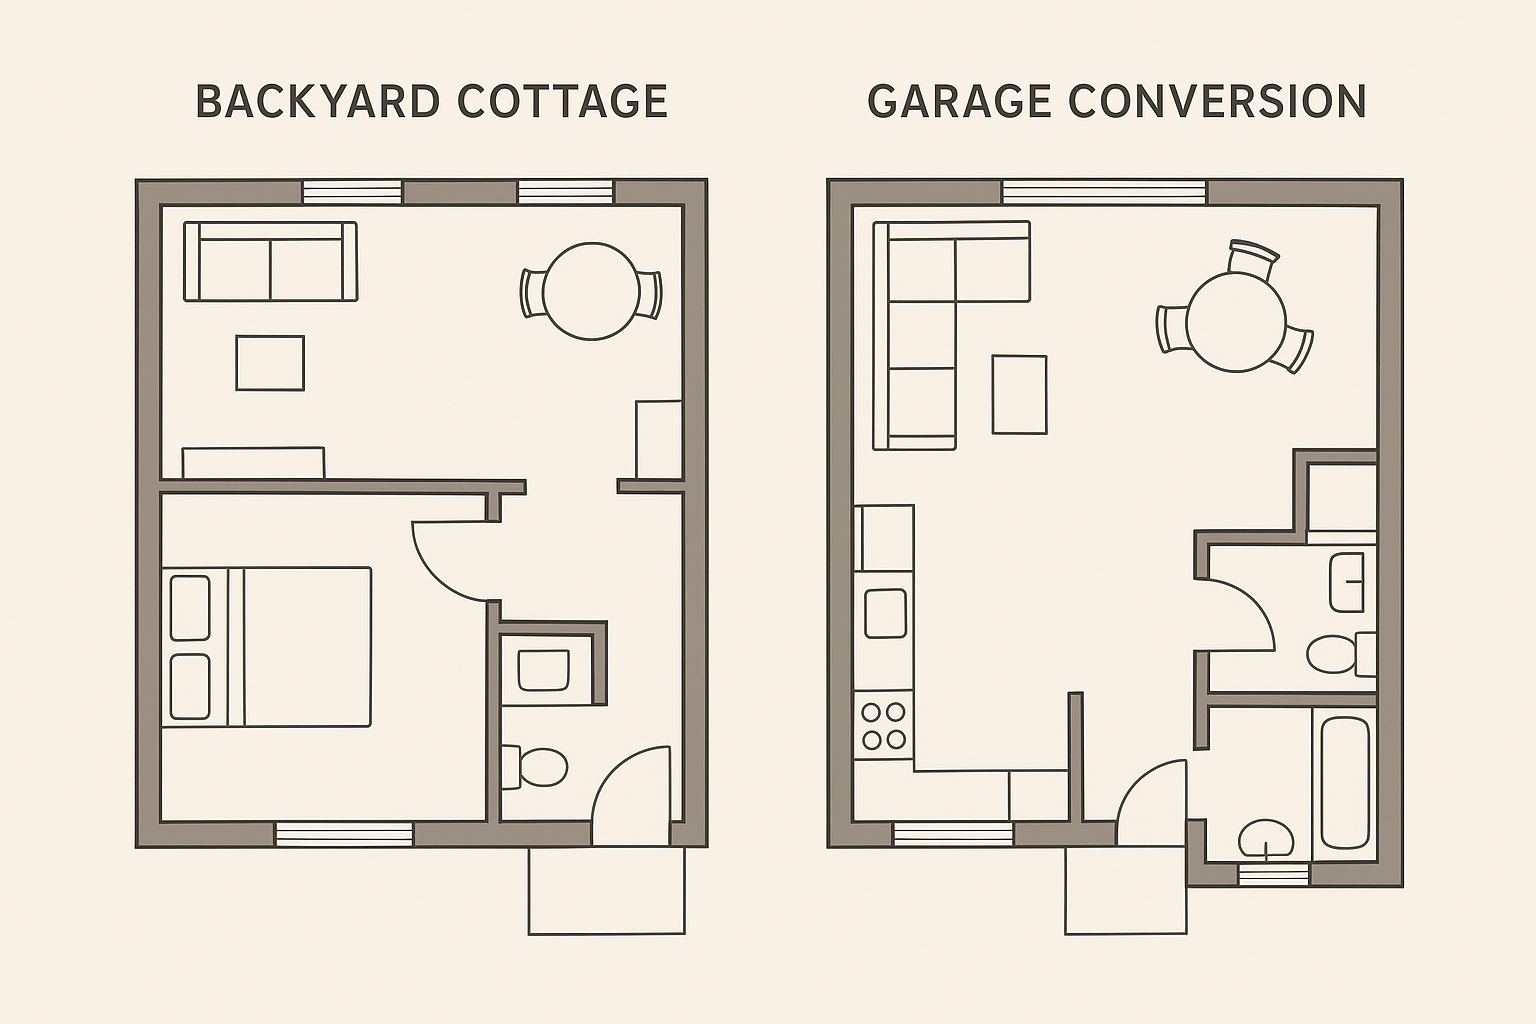
Detached and garage-conversion layouts each impose different design constraints on the finished floor plan.
Zoning Rules That Affect ADU Floor Plan Design
State law sets the baseline for what cities must allow, but local zoning still shapes the final layout. California Government Code Section 65852.2, available through the California Legislative Information site, establishes minimum size allowances, setback limits, and parking rules that every city must honor at a minimum. For general background on how accessory dwelling units are defined and used, the Wikipedia entry on secondary suites offers useful context.
Local municipalities, however, can still apply their own setback, height, and parking-replacement rules within the boundaries state law allows. As a result, a floor plan approved in one Orange County city might need adjustment for a neighboring jurisdiction with different lot coverage limits.
Common Mistakes When Planning ADU Floor Plans
Even experienced homeowners run into avoidable problems. For example, choosing a floor plan before confirming setbacks can force a costly redesign once the survey comes back. Likewise, underestimating utility connection distances often blows past initial budget estimates.
Another frequent issue is designing a layout that technically fits square footage limits but ignores everyday livability, such as placing a bedroom door directly across from the kitchen. Furthermore, skipping a structural engineer’s early input can lead to expensive framing changes after the plan has already gone through several design revisions. Working with a team that handles design, engineering, and permitting together — as outlined in this permit-ready design process — tends to reduce these setbacks.
How Much Do Custom ADU Floor Plans Cost?
Design fees for a custom ADU floor plan vary by scope, but they typically represent a small percentage of total project cost. According to the California Department of Housing and Community Development (HCD), ADU construction costs across the state commonly range from roughly $150 to $400 per square foot depending on region, finishes, and site conditions. The HCD’s ADU handbook outlines these cost drivers in detail for California homeowners.
Because design directly influences construction cost, a well-planned floor plan can help control expenses by minimizing structural complexity and avoiding costly mid-project changes. For a closer look at layout options and their price implications, this complete ADU floor plans guide breaks down common configurations by size.
How Long Does It Take to Design and Permit a Custom ADU Floor Plan?
Design typically takes four to eight weeks, depending on how quickly the homeowner finalizes decisions on layout and finishes. Permit review timelines vary widely by city — some jurisdictions issue ADU permits within 30 to 60 days, while others take several months. Consequently, homeowners should factor permit timing into their overall project schedule rather than expecting an immediate start date after design is finished.

Reviewing draft layouts together helps homeowners confirm the plan fits both lifestyle and budget.
Frequently Asked Questions About Custom ADU Floor Plans
What is a custom ADU floor plan?
A custom ADU floor plan is a site-specific layout designed around a particular lot’s shape, setbacks, and utilities rather than pulled from a generic template. It ensures the finished unit uses available space efficiently and meets local code.
How to design custom ADU floor plans on a budget?
How to design custom ADU floor plans on a budget starts with keeping the footprint simple, choosing standard window sizes, and placing plumbing close to existing lines. Simpler framing and shorter utility runs generally lower both design and construction costs.
How do I design custom ADU floor plans for a small lot?
Designing for a small lot means prioritizing an efficient rectangular footprint, compact storage, and multi-purpose rooms. A site assessment early in the process confirms exactly how much buildable area setbacks leave available.
Why does floor plan design matter more than finishes for ADU cost?
Floor plan design determines structural complexity, plumbing runs, and framing needs, which typically drive more of the total budget than finish selections. A well-planned layout can prevent expensive mid-project changes.
How much does it cost to design custom ADU floor plans in California?
Design fees vary by scope and firm, but they generally represent a smaller share of the overall project than construction itself. According to the California HCD, total ADU construction commonly ranges from about $150 to $400 per square foot statewide.
What is the difference between a detached and attached ADU floor plan?
A detached ADU floor plan has more design freedom since it isn’t tied to the main home’s structure. An attached ADU or second-story addition must integrate with existing walls, rooflines, and plumbing stacks.
Can I convert my garage into an ADU without major layout changes?
Some garage conversions keep the existing shell largely intact, but the interior layout usually still needs adjustment for ceiling height, egress windows, and required plumbing additions. A site assessment confirms what’s realistic for your specific garage.
What size ADU floor plans are allowed in California?
State law generally allows detached ADUs up to 1,200 square feet, though local jurisdictions may set additional limits based on lot size. Attached ADUs and JADUs often have separate size caps.
What common mistakes should I avoid when planning ADU floor plans?
Common mistakes include selecting a layout before confirming setbacks, underestimating utility connection distances, and skipping early structural engineering input. These oversights often lead to costly redesigns during permit review.
Do I need a structural engineer for my ADU floor plan?
Yes, a structural engineer confirms foundation type, framing, and seismic load requirements before a plan can be submitted for permit. This step is required in California regardless of ADU size.
Will my HOA affect my ADU floor plan design?
California law limits how much HOAs can restrict ADUs, though some HOAs still enforce design guidelines like exterior materials or color matching. It’s worth reviewing HOA rules alongside city zoning before finalizing a layout.
Who handles permits and inspections for a custom ADU floor plan?
A design-build contractor typically coordinates permit submittal, plan check corrections, and inspection scheduling on the homeowner’s behalf. This keeps design, engineering, and city coordination under one accountable team.
Bringing Your Custom ADU Floor Plan to Life
Ultimately, learning how to design custom ADU floor plans comes down to matching your lot’s real constraints with your household’s goals, then working through engineering, energy compliance, and permitting in the right order. A rushed layout often costs more in redesign fees than a careful site assessment would have cost in the first place. Therefore, homeowners who invest time upfront in site evaluation and goal-setting tend to move through permitting and construction with fewer surprises. Whether you’re considering a detached unit, a garage conversion, or a second-story addition, a design-build team that manages design, structural engineering, and permitting together can help translate that plan into a livable space.
For more on getting started, visit TheADUPro.com or explore this design-build overview for a closer look at how custom floor plans move from concept to construction.