By The ADU Pro Team — Last updated: 2026-06-26. Getting an accessory dwelling unit permit is the single most important step between having an ADU idea and owning a legal, rentable, insurable secondary dwelling. This complete guide walks you through every stage of the permit process — from zoning research and plan preparation to inspections, the Certificate of Occupancy, and the mistakes that cost homeowners months of delays. For a deeper walkthrough, see our Find an Accessory Dwelling Unit Near Me: Full Guide.
ADUs have become one of the fastest-growing segments in residential construction as housing costs climb and state legislatures across the country loosen restrictions. But the permitting process remains the step where projects stall, budgets overrun, and well-intentioned homeowners find themselves holding an illegal structure. Understanding exactly how the process works — and where the traps are — makes the difference between a successful project and an expensive headache.
Quick Answer
To obtain an accessory dwelling unit permit, you must verify zoning eligibility, hire a qualified designer, prepare a complete plan package, submit your application and pay fees, respond to plan check corrections, and pass all required construction inspections. Total timeline: 4 to 24 weeks depending on jurisdiction, project type, and application completeness.
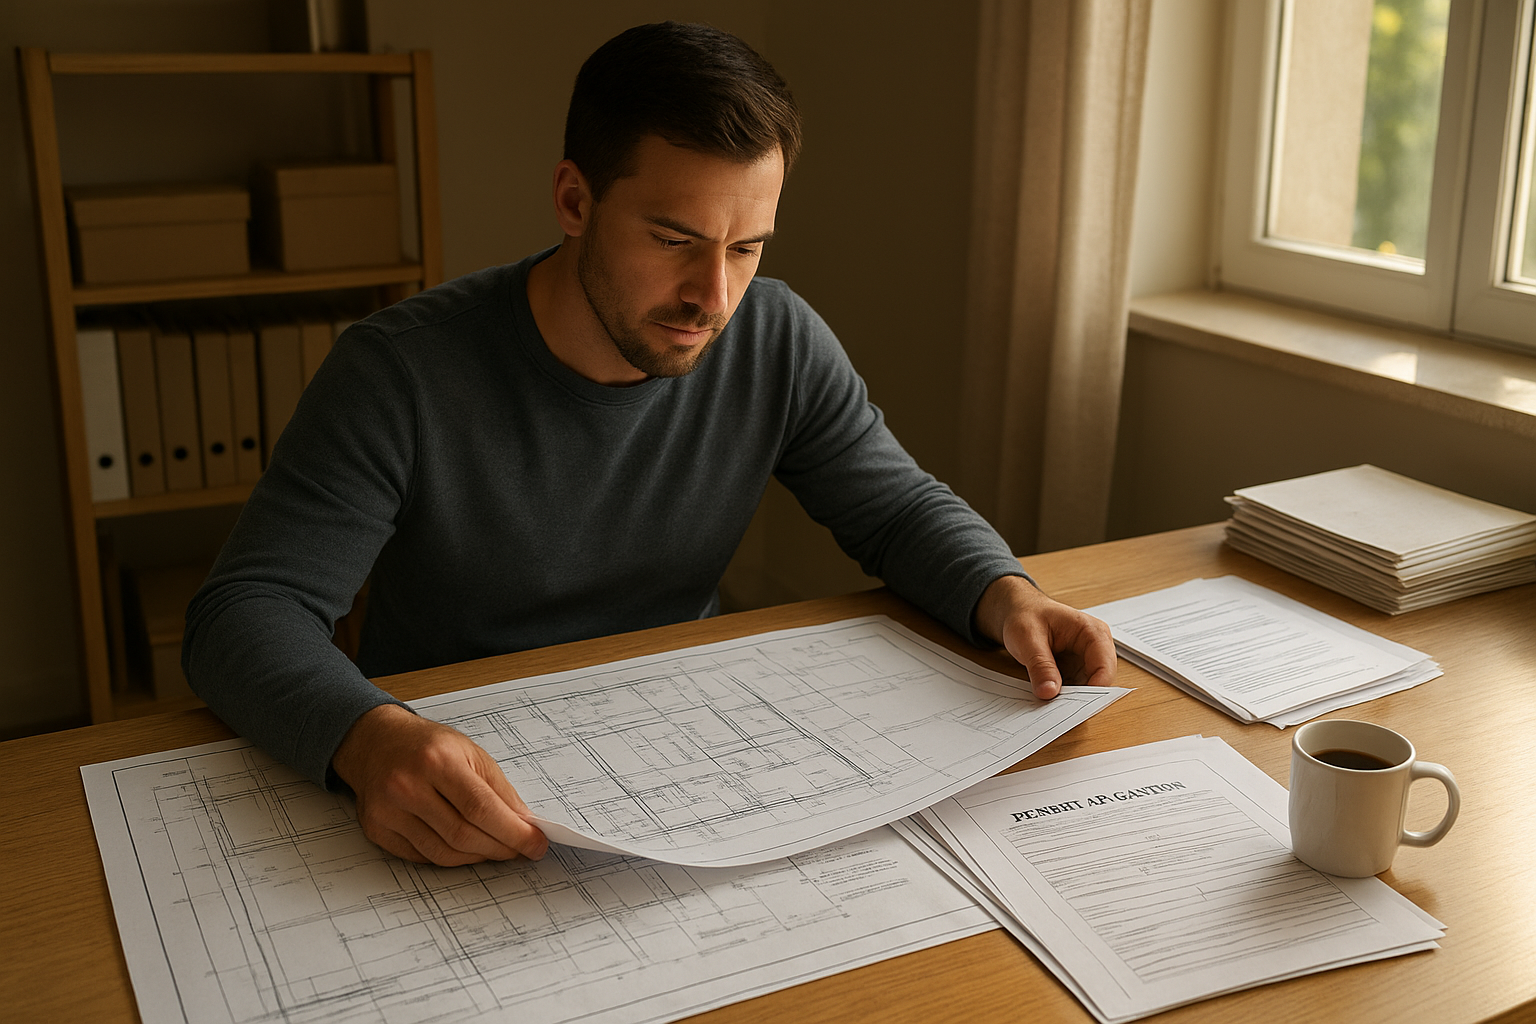
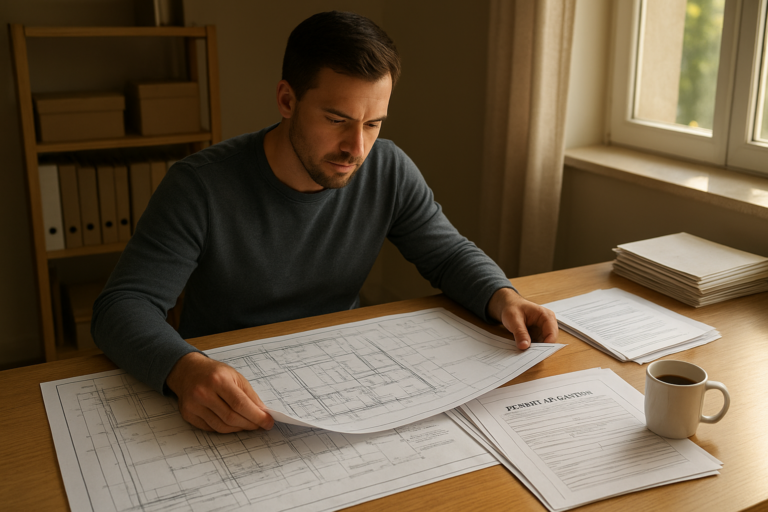
Preparing a complete accessory dwelling unit permit application package before submission reduces costly correction rounds and weeks of delay. For a deeper walkthrough, see our Accessory Dwelling Unit Floor Plans: Complete Guide.
What Is an Accessory Dwelling Unit Permit?
An accessory dwelling unit permit is the official government authorization — issued by your local building department — that legally allows you to construct, convert, or establish a secondary living unit on a residential property. It is not a single document but a package of approvals: zoning clearance, building permit issuance, and ultimately a Certificate of Occupancy after inspections pass.
The permit ensures that your ADU is designed and built to current building and safety codes, protecting the health of future occupants. It also creates the legal record that the unit exists and is habitable — a record that banks, insurance companies, and future buyers all rely on.
The Three Types of ADUs Covered by This Permit Category
- Detached ADU — A fully separate structure built in the backyard or on another portion of the lot, independent from the main home. For a deeper walkthrough, see our From Idea to Home: Create Your ADU Faster Than You Think with an ADU Builder.
- Attached ADU — An addition to the primary residence that shares at least one wall and may share utilities. For a deeper walkthrough, see our ADU Builder Burbank.
- Conversion ADU — An existing space (garage, basement, attic) converted into a habitable unit. This includes garage conversion ADUs, the most common conversion type. For a deeper walkthrough, see our Accessory Dwelling Unit Ordinance Los Angeles Guide.
- Junior ADU (JADU) — A unit of up to 500 square feet created within the existing walls of the main home, with its own entrance. JADUs have a simplified permit pathway in most states. For a deeper walkthrough, see our Is It Worth It to Add a Guest House to My Home?.
Each type triggers a different permit pathway, review complexity, and fee structure. Understanding which category your project falls into is the first thing to clarify before doing anything else.
Why Skipping the ADU Permit Is Never Worth It
It is tempting to rationalize skipping the permit process — especially when your timeline is tight or fees seem daunting. Here is why the math never works in your favor:
Financial Risks
- Fines of $500–$5,000+ per code violation
- Forced demolition orders at your expense
- Lenders exclude unpermitted rental income from refinance calculations
- Property value may decrease — buyers discount unpermitted structures
- Doubled or tripled permit fees when legalizing after-the-fact
Legal & Insurance Risks
- Homeowner’s insurance typically excludes unpermitted structures
- Personal liability for tenant injuries in an unsafe unpermitted unit
- Cannot legally rent the unit in most jurisdictions
- Mortgage lender may call the loan due upon discovery
- Title complications that block future sales
The bottom line: a permitted ADU is a legal asset. An unpermitted one is a liability that could cost far more to resolve than the permit ever would have cost in the first place.
How the ADU Permit Process Works: A Full Step-by-Step Walkthrough
The ADU permit process follows a predictable sequence in virtually every U.S. jurisdiction. See the ADU permit process page for a focused step-by-step breakdown. Here is every stage in detail, with the information you need to move through each one efficiently.
Process Overview
- Research local zoning and ADU eligibility
- Conduct a pre-application meeting (highly recommended)
- Hire a designer and prepare compliant drawings — see our planning and build checklist: How to Build an ADU
- Submit your permit application and pay fees
- Navigate plan check and respond to corrections
- Receive permit issuance and begin construction
- Schedule and pass all required inspections
- Obtain your Certificate of Occupancy
Step 1: Research Your Local Zoning and ADU Eligibility
Before spending a dollar on design, confirm that your property is legally eligible to host an ADU. Zoning rules govern what is allowed on your parcel, and they vary significantly by city, county, and state — even within the same metropolitan area.
Key zoning factors to investigate:
- Zoning district — Most single-family residential zones (R-1, R-2) now permit at least one ADU and one JADU by right, meaning no discretionary hearing or neighbor notification is required. Verify yours explicitly.
- Setback requirements — The minimum distance your ADU must sit from property lines. Most states mandate a minimum of 4 feet for rear and side setbacks on detached ADUs, but local rules can be stricter.
- Maximum unit size — Typically capped at 850 to 1,200 square feet for a detached ADU. California state law sets a minimum allowable cap of 850 sq ft (or up to 1,000 sq ft with 2+ bedrooms) that cities cannot go below.
- Height limits — Usually 16 feet for single-story detached ADUs, though many California cities allow up to 25 feet when the ADU is near a major transit corridor. For a deeper walkthrough, see our Unlocking the Potential of Accessory Dwelling Units (ADUs) in California: A Comp.
- Lot coverage and FAR — Floor-area ratio restrictions and lot coverage maximums can limit how much of your lot you can build on, even if the ADU itself meets size limits.
- Owner-occupancy requirements — Some jurisdictions still require the property owner to live in either the main home or the ADU. Check current local ordinance, as many cities suspended this requirement in recent years.
- Parking requirements — Many jurisdictions have eliminated or reduced parking requirements for ADUs, especially when the property is within a half-mile of a transit stop.
- Historic district and overlay zone restrictions — Properties in historic districts or coastal overlay zones face additional design review requirements that can significantly extend timelines.
- Utility capacity — Some parcels require utility upgrades (water, sewer, electrical panel) before an ADU permit can be approved. Identifying this early prevents expensive surprises mid-project.
Start with your city’s planning department website and look for their ADU-specific guidance pages. Many cities now publish ADU handouts, pre-approved plan programs, or online zoning lookup tools. Resources like The ADU Pro provide jurisdiction-specific guidance that can compress hours of research into a focused checklist.
State Law vs. Local Ordinance: Which Controls?
In California, state ADU laws (AB 68, AB 881, SB 9, and subsequent legislation) set minimum standards that every city must honor. If your city’s local ordinance is more restrictive than state law, state law wins. This means even if your city’s code appears to prohibit your ADU, you may have a state-law right to proceed. Oregon, Washington, and several other states have enacted similar preemption legislation. Always verify which law governs your specific situation. See our detailed California build guide: How to build an ADU in California.
Step 2: Request a Pre-Application Meeting
Before hiring a designer, schedule a pre-application meeting with your local building or planning department. Most jurisdictions offer this service free or for a nominal fee, and it is one of the highest-leverage actions you can take in the entire permit process.
What to bring to your pre-application meeting:
- A copy of your current property survey or assessor’s parcel map
- A rough site sketch showing where you are considering placing the ADU
- A list of specific questions about setbacks, utility connections, and any overlay zone requirements
- Photos of your existing property and any structures you intend to convert
A 30-minute pre-application conversation can identify potential showstoppers — like a drainage easement running through your intended ADU footprint, or an undisclosed utility easement — before you pay a designer to produce plans around a location that will never get approved.
Step 3: Hire a Designer and Prepare Your ADU Plans
With zoning confirmed and a pre-application meeting complete, engage a licensed architect, residential designer, or ADU-specialist design firm. Local experience matters enormously — see our build an ADU guide for end-to-end planning and construction coordination. A designer who has submitted plans to your specific building department knows the plan checker’s preferences, local code amendments, and formatting requirements that can make the difference between a first-round approval and three rounds of corrections.
What your ADU permit plan set must include: ADU floor plans
- Site plan — Dimensioned drawing showing property lines, all existing structures, proposed ADU footprint, setbacks, utilities, and access routes. This is the document plan checkers scrutinize most heavily for zoning compliance.
- Floor plans — Room-by-room layout with dimensions, door/window locations, square footage calculations, and accessibility features where required. For a deeper walkthrough, see our What ADU accessibility features do you recommend? | The ADU Pro®.
- Elevation drawings — All four exterior elevations showing wall heights, roof pitch, window placement, and exterior material callouts.
- Building sections — Cross-section drawings showing interior ceiling heights, framing, insulation, and floor-to-roof construction assembly.
- Structural calculations and drawings — Prepared or reviewed by a licensed structural engineer. Required for any new construction and most conversion projects affecting the load-bearing structure.
- Energy compliance documentation — Title 24 compliance in California; IECC compliance documentation in other states. This is a near-universal requirement that is frequently forgotten and triggers corrections.
- Electrical, plumbing, and mechanical plans — Required when the ADU involves new or substantially modified utility systems. In many jurisdictions, these can be submitted as part of the same permit application or as separate sub-permits.
- Title 24 or equivalent energy report — A formal compliance calculation document prepared by a certified energy consultant, showing that the ADU meets current energy efficiency standards.
- Soils or geotechnical report — Required in some jurisdictions for new foundations, particularly on hillside lots or in areas with known soil instability. Confirm whether this applies to your site early.
Pre-Approved ADU Plan Programs
Several cities — including Los Angeles, San José, and Sacramento — offer pre-approved standard ADU plan programs. These are architect-designed plan sets already reviewed and approved by the city. Homeowners can use them with minimal customization, dramatically reducing design costs and plan check time. Ask your planning department whether a pre-approved plan program exists before commissioning custom drawings.
Step 4: Submit Your ADU Permit Application and Pay Fees
With a complete plan set in hand, you are ready to submit your accessory dwelling unit permit application to the local building department. The submission method varies by jurisdiction — many cities now accept online portal submissions through systems like eTRAKiT, Accela, or city-specific platforms. Some smaller cities and counties still require in-person counter submissions with physical plan sets.
What your application package typically includes:
- Completed building permit application form (city-specific)
- Complete plan set (site plan, floor plans, elevations, sections, structural drawings, energy compliance)
- Owner authorization or contractor authorization letter
- Title report or grant deed showing current ownership
- Contractor license information (if submitting with a general contractor)
- Payment for initial permit and plan check fees
Understanding ADU Permit Fees: A Detailed Breakdown
ADU permit fees are one of the most frequently misunderstood costs in the project budget. They are not a single charge — they are a collection of fees that accumulate across multiple agencies and work types. Here is what to expect: For a deeper walkthrough, see our construction costs guide.
Total permit-related costs typically fall in the $3,000 to $20,000 range, with wide variation depending on city, project size, and whether utility connections trigger additional agency fees. California law (AB 3182 and subsequent legislation) prohibits cities from charging connection fees or capacity charges to ADUs that use the existing primary dwelling’s utility connections, which can eliminate thousands of dollars in fees for internal conversions and JADUs.
Budget a 20 percent contingency above your estimated permit fees to account for unexpected charges that surface during the review process.
Step 5: Navigate Plan Check and Respond to Corrections
After submission, your application enters plan check — a formal review by building department staff to verify that your proposed ADU complies with all applicable codes: building, zoning, fire, energy, structural, and accessibility. This is where most delays happen.
First-round approvals without correction requests are rare. Most applications receive a correction letter — sometimes called a “redline set” or “comments list” — requesting clarification or revisions on specific items. Common correction categories include:
- Setback dimensions not clearly labeled on the site plan
- Missing egress window specifications in sleeping rooms
- Insufficient structural detail at roof-to-wall connections
- Energy compliance report not matching the plan set dimensions
- Smoke and carbon monoxide detector locations not shown
- Water heater or HVAC equipment access and clearance issues
- Missing or incorrect accessibility features (turning radius, reach ranges)
How to respond effectively: Address every single correction in your response letter and revise the plans to match. Reference each correction by number and explain what was changed. Submitting a partial response or leaving any comment unaddressed will generate a third review cycle that adds weeks to your timeline.
In California, state law requires jurisdictions to act on ADU permit applications within 60 days of a complete submission. However, “completeness” is the operative word — incomplete submissions can be rejected outright or placed in a separate queue, restarting the clock. Responding to correction letters within 5 to 7 business days keeps your project on the fastest possible track.
Expedited Plan Check: Is It Worth It?
Many jurisdictions offer expedited or over-the-counter plan check for an additional fee — typically 50–100% of the standard plan check fee. For projects where speed matters, this can compress a 6–8 week review cycle to 1–2 weeks. Calculate the carrying cost of your project (financing costs, delayed rental income) against the expedite fee to determine if it makes financial sense for your situation.
Step 6: Permit Issuance and Starting Construction
Once all plan check corrections are addressed and approved, the building department issues your permit. You will receive a physical permit card and approved plan set. Both must be kept on-site throughout the entire construction process and made available to inspectors on demand.
Critical rule: Do not begin any construction work before the permit is physically in hand. Starting even minor site work before permit issuance can result in a stop-work order, required demolition of completed work, and substantially increased fees as a penalty. Even if you are told approval is imminent, wait for the issued permit before breaking ground.
Most building permits expire if construction does not commence within 6 to 12 months of issuance, and they expire if work stops for 180 days or more during construction. Track your permit expiration date and apply for extensions before they lapse — a lapsed permit requires starting the application process over.
Step 7: Required Construction Inspections
Inspections are not a formality — they are a mandatory series of checks at specific construction milestones that verify the work matches the approved plans and meets code. Your contractor is responsible for scheduling inspections, and no work can be covered (drywall, flooring, concrete) before the relevant inspection is passed and signed off.
Typical inspection sequence for a new detached ADU:
- Pre-pour / Foundation inspection — Forms, rebar placement, and soil conditions verified before concrete is poured.
- Framing inspection — All structural framing, sheathing, and hardware verified with walls open before any insulation or drywall.
- Rough electrical inspection — Wiring, panels, and boxes inspected before walls are closed.
- Rough plumbing inspection — Supply and drain lines, pressure tested, inspected before walls are closed.
- Rough mechanical inspection — HVAC ductwork and equipment verified before walls are closed.
- Insulation inspection — Insulation type, R-value, and installation quality verified against energy compliance documentation.
- Drywall nailing / lath inspection — Required in some jurisdictions before mud and tape.
- Final inspection — All work complete, all finishes installed, all systems operational. The inspector verifies the completed ADU matches the approved plans in every material respect.
Failed inspections require corrections and re-inspection, adding days or weeks to your construction schedule. Your contractor’s experience with local inspection requirements is a meaningful factor in keeping the project on timeline.
Step 8: Obtain Your Certificate of Occupancy
Passing the final inspection triggers issuance of a Certificate of Occupancy (CO) — the document that legally establishes your ADU as a permitted, habitable dwelling unit. The CO is the finish line of the permit process. Without it, you cannot legally rent the unit, represent it as livable space in any real estate transaction, or count on your homeowner’s insurance to cover it. For a deeper walkthrough, see our Additional Dwelling Unit Cost: What to Budget in 2025.
In most jurisdictions, the CO also triggers the address assignment process for the ADU (if not already completed), and notifies the county assessor’s office that a new habitable unit has been added to the property — which will reflect in a reassessment of the ADU’s added value.
Keep your CO, approved plan set, and inspection records permanently. You will need these documents when you refinance, sell the property, or apply for a landlord license in jurisdictions that require them for rental registration.
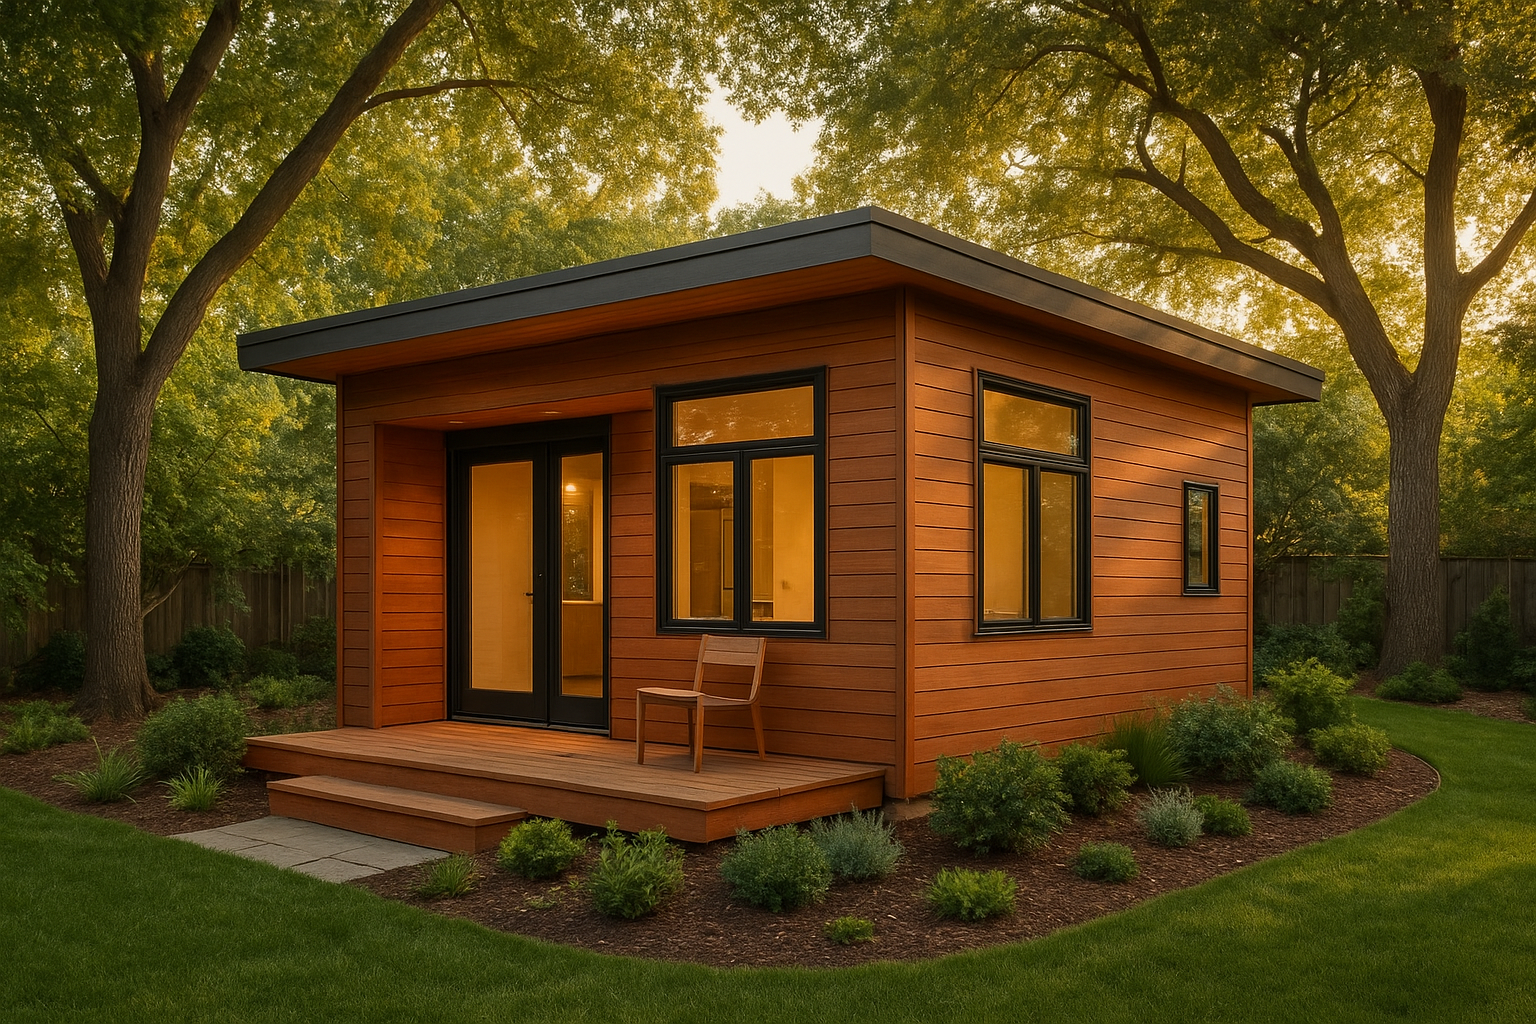
A permitted and inspected detached ADU adds significant long-term property value and generates legal rental income from day one of occupancy.
ADU Permit Timelines by Project Type
Permit timelines vary significantly based on project type, application completeness, and local building department workload. Here is a detailed breakdown of what to realistically expect:
These timelines assume a well-prepared, complete application. Incomplete submissions, missed correction deadlines, or complex design issues can easily add 4 to 8 weeks to any of these ranges. Always plan your construction schedule around the upper end of the range — not the lower.
ADU Permit Requirements by State: Key Differences
While the permitting process follows a similar structure nationally, state laws create meaningful differences in what cities can and cannot require. Here is a quick overview of how major states compare:
California
- 60-day approval requirement for complete applications
- No owner-occupancy requirement (statewide through 2025)
- Cities cannot require fire sprinklers for ADUs where the primary home doesn’t have them
- Utility connection fees prohibited for conversions using existing connections
- Pre-approved plan programs available in many cities
Oregon
- State law requires cities to allow ADUs in all residential zones
- No owner-occupancy requirement statewide
- Cities limited in design standards they can impose
- Urban growth boundary affects lot availability in some areas
Washington
- Passed HB 1337 requiring all cities to allow at least two ADUs per lot
- Prohibits owner-occupancy requirements statewide
- Cities with over 75,000 population must allow 24-foot detached ADUs
- Local permitting timelines vary widely by city
If you live outside these three states, check your state legislature’s website for recent ADU-related bills. As of 2024, more than 20 states have enacted or proposed legislation to streamline the ADU permitting process.
How to Legalize an Existing Unpermitted ADU
If your property already has an unpermitted secondary unit — sometimes called a “granny flat,” informal rental, or illegal unit — you may be able to legalize it through a retroactive permit, also known as a permit for existing construction or “as-built” permit.
The legalization process typically involves:
- Pre-legalization site assessment — A contractor or designer evaluates the existing structure against current code and identifies what needs to be upgraded.
- As-built drawings — A designer documents the existing structure exactly as it stands, then shows what modifications are needed for code compliance.
- Permit application submission — Submitted with the as-built drawings and a correction plan addressing all non-compliant elements.
- Inspections with open walls — In most cases, portions of the structure must be opened up to allow inspectors to verify concealed framing, electrical, and plumbing work.
- Required upgrades completed — Bring the unit into full code compliance, which may include new electrical panels, egress windows, insulation, fire separation improvements, and smoke/CO detector installation.
- Certificate of Occupancy issued — Once all work passes inspection, the unit receives its CO and is officially a permitted ADU. For a deeper walkthrough, see our ADU Builder Anaheim – Why The ADU Pro.
Legalization costs vary dramatically based on how far the existing structure deviates from current code. Simple cases may cost $10,000–$30,000 in construction upgrades; complex cases involving significant structural or electrical deficiencies can cost $50,000 or more. Despite the cost, legalization eliminates ongoing legal liability, enables legal renting, and adds the unit’s value to your property’s assessed base.
Several California cities — including Los Angeles and San Francisco — have enacted amnesty programs that temporarily reduced or waived legalization fees and relaxed some code upgrade requirements to encourage property owners to bring unpermitted units into the legal housing stock. Check whether your jurisdiction offers a similar program.
Common Mistakes That Delay or Derail ADU Permits
Even well-prepared homeowners run into avoidable problems. Here are the most common mistakes — and exactly how to avoid each one:
❌ Starting construction before permit issuance
Even if approval is imminent, beginning any work without an issued permit is a code violation. Result: stop-work orders, mandatory demolition of completed work, and substantially increased fees as penalties.
❌ Submitting incomplete plan sets
Missing elevation drawings, absent energy compliance documentation, or incomplete structural calculations will result in an immediate incompleteness determination — requiring resubmission before the review clock even starts.
❌ Underestimating setback requirements
Designing the ADU too close to a property line — even by 6 inches — requires design revisions, new calculations, and a full re-review. Always measure setbacks from the actual property line, not from your fence.
❌ Failing to account for utility upgrades
An ADU may require an electrical panel upgrade, new water meter, or sewer lateral work. Discovering this during plan check — rather than before design — adds cost and timeline. A utility pre-check before design begins eliminates this risk.
❌ Letting a permit expire
Most building permits expire if construction does not begin within 6–12 months, or if work stops for more than 180 consecutive days. A lapsed permit typically requires reapplication and payment of new fees.
❌ Using a designer unfamiliar with local requirements
A designer who is not familiar with your city’s specific code amendments, local formatting requirements, and plan checker preferences will almost always trigger more correction rounds. Local experience is worth the premium.
❌ Ignoring slow correction responses
Many jurisdictions will close out a stale application if corrections are not resubmitted within 90–180 days. Respond to correction letters within 5–7 business days to maintain your place in the review queue.
ADU Permit Costs vs. Long-Term ROI
Permit costs are a real line item in your project budget, but they need to be evaluated in the context of the financial return a permitted ADU generates. Here is how the math looks in a representative scenario: For a deeper walkthrough, see our Figuring out your ADU Budget.
Sample ADU ROI Analysis — New Detached 800 sq ft ADU
- Total permit fees: $8,000 – $18,000 (varies by city)
- Total construction cost: $150,000 – $300,000
- Estimated monthly rent: $1,500 – $3,500 depending on market
- Annual rental income: $18,000 – $42,000
- Estimated property value increase: $100,000 – $250,000 in most markets
- Permit cost as % of total project: 3 – 7%
Note: These are illustrative ranges. Actual costs and returns vary by market, unit size, and local conditions.
When you consider that permit fees represent 3 to 7 percent of total project cost but enable 100 percent of the legal rental income, property value appreciation, and refinancing eligibility, the cost-benefit calculation is unambiguous. The permit is not a cost — it is what converts a construction expense into an income-producing, appreciating asset.
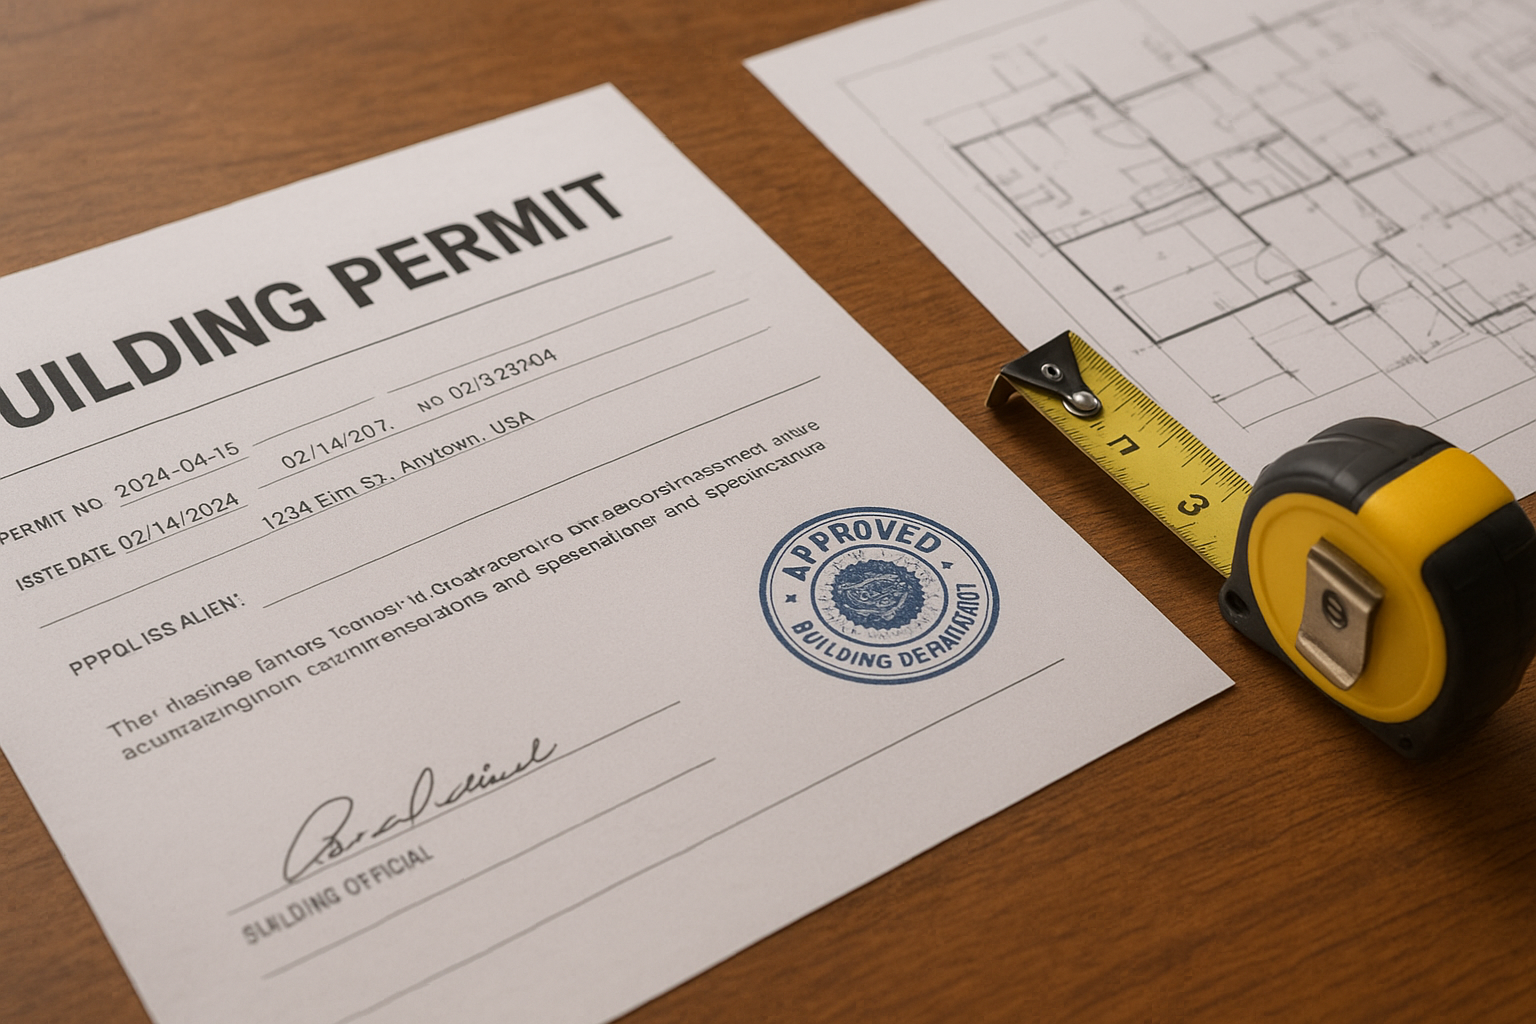
An issued ADU permit and complete approved plan set are legally required to be on-site throughout the entire construction process. For a deeper walkthrough, see our Accessory Dwelling Units ADUs: Complete Guide 2025.
Working With Professionals: Who Does What
Successfully navigating the ADU permit process requires coordinating a team of professionals to build an ADU, each responsible for a specific slice of the work. Understanding who does what — and in what order — prevents costly miscommunication and project delays.
A permit expediter is a particularly underutilized resource in ADU projects. These professionals know the building department’s internal processes, have established relationships with plan checkers, and can often resolve correction issues in a single phone call that would otherwise require multiple submission cycles. For projects in high-workload jurisdictions like Los Angeles, San Francisco, or Seattle, a good expediter pays for themselves many times over.
Resources like The ADU Pro offer expert consulting services that guide homeowners through every stage — from initial zoning research through final Certificate of Occupancy — with jurisdiction-specific knowledge that can shorten your timeline significantly. For a deeper walkthrough, see our ADU Builder Buena Park – Why The ADU Pro®.
Conclusion: Your Accessory Dwelling Unit Permit Is the Foundation of Everything
An accessory dwelling unit permit is not a bureaucratic inconvenience — it is the legal document that transforms a construction project into a permanent, protected, income-producing property asset. Every stage of the process, from the initial zoning check through the final Certificate of Occupancy, builds toward a single outcome: a dwelling unit that is safe, legal, insurable, rentable, and fully valued in any real estate transaction.
The process requires patience and attention to detail, but it is navigable when you understand the sequence, prepare thoroughly, hire the right professionals, and respond promptly at every stage. Use the tools and resources available to you — pre-application meetings, pre-approved plan programs, permit expediters, and ADU consultants — to move through the process as efficiently as possible.
The homeowners who reach Certificate of Occupancy fastest are the ones who started by learning the process — exactly what you have done by reading this guide. Now take the next step: research your local zoning rules, schedule your pre-application meeting, and get your project moving. Add an author bio and credentials (name, license, brief experience) near the top or bottom of this page to improve trust and E‑E‑A‑T.
Frequently Asked Questions About the Accessory Dwelling Unit Permit Process
What is an accessory dwelling unit permit?
An accessory dwelling unit permit is an official authorization from your local building department that allows you to legally construct, convert, or establish a secondary living space on your residential property. It covers zoning clearance, plan review, and construction inspections — culminating in a Certificate of Occupancy that legally establishes the unit as a habitable dwelling.
How much does an accessory dwelling unit permit cost?
Total permit-related costs typically range from $3,000 to $20,000, encompassing the building permit fee, plan check fee, electrical and plumbing sub-permits, school impact fees (where applicable), and sewer or utility connection fees. See ADU construction costs for a deeper breakdown of fees and budget planning. Some California cities have adopted reduced or tiered fee schedules for ADUs under 750 square feet to encourage housing production. Budget a 20 percent contingency above your initial estimate to account for unexpected charges.
How long does it take to get an ADU permit approved?
Timeline varies by project type: Junior ADUs take 3–8 weeks, garage conversions 5–10 weeks, attached additions 8–16 weeks, and new detached ADUs 10–24 weeks. In California, state law requires jurisdictions to act within 60 days of a complete submission. Incomplete applications or multiple correction rounds can significantly extend these timelines.
Do I need a permit for a detached ADU?
Yes, a detached ADU requires a building permit in virtually every U.S. jurisdiction because it involves new construction, foundation work, and new electrical, plumbing, and mechanical systems. Operating an unpermitted detached ADU exposes you to fines, forced demolition orders, insurance exclusions, and inability to legally rent or sell the unit.
Can I build an ADU without a permit?
Building an ADU without a permit is illegal in virtually all U.S. jurisdictions. Unpermitted structures can be ordered demolished at the owner’s expense, will likely void your homeowner’s insurance coverage for that structure, and create title complications that block future sales or refinancing. The cost of legalization after the fact is almost always higher than the original permit would have been.
What documents are required for an ADU permit application?
Most jurisdictions require a completed permit application form, site plan, floor plans, elevation drawings, building sections, structural calculations, energy compliance documentation (Title 24 in California), electrical and plumbing plans, a title report, and owner/contractor authorization. Some cities also require a soils report for new foundations or a utility capacity confirmation from the local water and sewer district.
What is the difference between a garage conversion ADU permit and a new detached ADU permit?
A garage conversion permit is generally simpler and faster because the structure already exists — the review focuses on habitability upgrades (insulation, egress, HVAC) rather than full new construction. A new detached ADU permit involves a comprehensive review of foundation design, structural framing, all building systems, and utility connections, resulting in higher fees and a longer plan check timeline of 10–24 weeks versus 5–10 weeks for a conversion.
What is plan check and how many rounds does it take?
Plan check is the formal review process by building department staff to verify that your submitted drawings comply with all applicable codes. First-round approvals without correction requests are uncommon — most applications go through one to three correction rounds. Each round adds 2–6 weeks to your timeline. Hiring a designer with local experience and responding to corrections within 5–7 business days keeps the process on the fastest possible track.
Does an ADU need a separate address?
Most jurisdictions assign a separate address to an ADU during the permit process to facilitate emergency services access and postal delivery. Your local planning or building department typically handles this assignment automatically as part of the permit issuance process. Some cities assign the address after the Certificate of Occupancy is issued rather than at permit issuance.
Will an ADU increase my property taxes?
Yes, adding a permitted ADU triggers a partial reassessment of your property — specifically the value of the new ADU structure. In California (and many other states with Prop 13-style limitations), only the newly added value is reassessed, not the entire property. The rental income generated by a legal ADU typically offsets the tax increase within the first year of tenancy in most markets.
What is a JADU and how does its permit differ from a full ADU permit?
A Junior ADU (JADU) is a secondary unit of up to 500 square feet created within the existing walls of the primary residence, typically from a bedroom or converted space with its own entrance. JADUs still require a permit, but the process is significantly faster and less expensive than a full ADU permit because structural modifications are minimal and no new foundation work is involved. Most JADU permits can be processed in 3–8 weeks.
What are the most common reasons an ADU permit gets rejected or corrected?
The most common plan check corrections involve insufficient setback dimensions on the site plan, missing egress window specifications in sleeping rooms, incomplete or non-matching energy compliance documentation, missing structural details at critical connections, and absent smoke/CO detector locations. Addressing all of these in the initial submission — before a plan checker ever reviews the application — dramatically reduces correction rounds.
Can I legalize an existing unpermitted ADU?
Yes — most jurisdictions allow you to obtain a retroactive or “as-built” permit for an existing unpermitted unit. The process requires as-built drawings documenting the current structure, a permit application, inspections with portions of the structure opened up to verify concealed systems, and construction work to bring the unit into current code compliance. Costs vary widely based on how far the existing structure deviates from code. Some cities offer amnesty programs with reduced fees for legalization.
Can a permit expediter help speed up the ADU permit process?
Yes — a permit expediter or experienced ADU consultant provides significant value, especially in high-workload jurisdictions. They know the building department’s internal processes, catch errors before submission, communicate directly with plan checkers to resolve issues, and can often reduce correction rounds from three to one. Resources like The ADU Pro offer consulting services that guide homeowners efficiently through the entire permit process.