
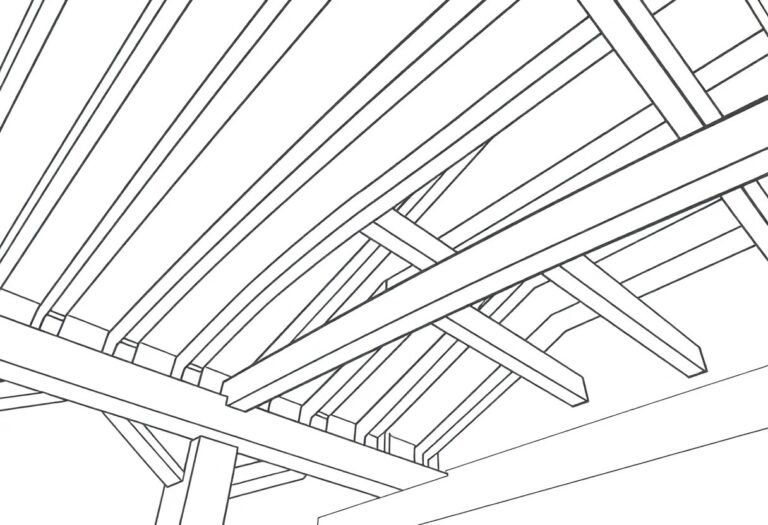
Wide ceiling joists solve one of the most persistent structural headaches in home building: sagging ceilings, uneven load distribution, and cramped design options. Whether you’re framing a new addition, converting an attic, or planning an open, exposed-beam living space, choosing the right joist width — and understanding how it interacts with span, spacing, and material — determines whether your ceiling stays flat and safe for decades or starts cracking within a few years. This guide walks through everything you need to know about wide ceiling joists, from sizing and span tables to installation, cost, and long-term maintenance, so you can plan your project with total confidence.
Key Takeaways
- Increased load capacity: Wide ceiling joists carry heavier loads and span longer distances than standard-dimension lumber, reducing the number of joists needed.
- Better insulation and acoustics: Deeper joist cavities allow for thicker insulation and improved soundproofing between floors.
- More design freedom: Larger joists support open floor plans, exposed-beam ceilings, and heavier fixtures without added blocking.
- Code-driven sizing: Joist width and spacing are governed by span tables in the International Residential Code (IRC), not guesswork.
- Engineering matters: Any retrofit or exposed-joist project should be reviewed by a structural engineer before construction begins.
Understanding Wide Ceiling Joists: Definition and Structural Role
By definition, wide ceiling joists are horizontal framing members — typically dimensional lumber, engineered wood, or steel — that span the distance between load-bearing walls or beams to support a ceiling and, in many homes, the floor above. Because they’re wider (deeper) than standard joists, they resist bending, or deflection (the amount a joist flexes under load), far better across longer spans. If you’ve ever had a ceiling joist question about whether your framing can handle a heavier fixture or a wider open room, the answer almost always comes down to joist depth, span, and spacing working together.
For a broader technical background on how joists function within a framed structure, the Wikipedia entry on joists offers a useful engineering overview, including how joist orientation affects load transfer to walls and foundations.
Wide Ceiling Joists vs. Standard Joists: What’s the Difference?
Standard ceiling joists are often 2×6 or 2×8 lumber, sized for short spans and lighter loads. In contrast, wide ceiling joists — commonly 2×10, 2×12, or larger engineered sections — carry more weight over a longer distance without sagging. As a result, they’re the go-to choice for open floor plans, vaulted rooms, or any ceiling that needs to support heavy drywall, plaster, or mechanical loads.
Why Span, Depth, and Spacing Matter Together
A joist’s width alone doesn’t guarantee performance. Instead, width has to be evaluated alongside span (the distance between supports) and spacing (the distance between each joist, usually 16 or 24 inches on center). In other words, a wider joist spaced too far apart can still sag, while a narrower joist spaced tightly can sometimes outperform it. This is precisely where many DIY projects go wrong — they focus only on lumber size and skip the span-and-spacing math entirely.
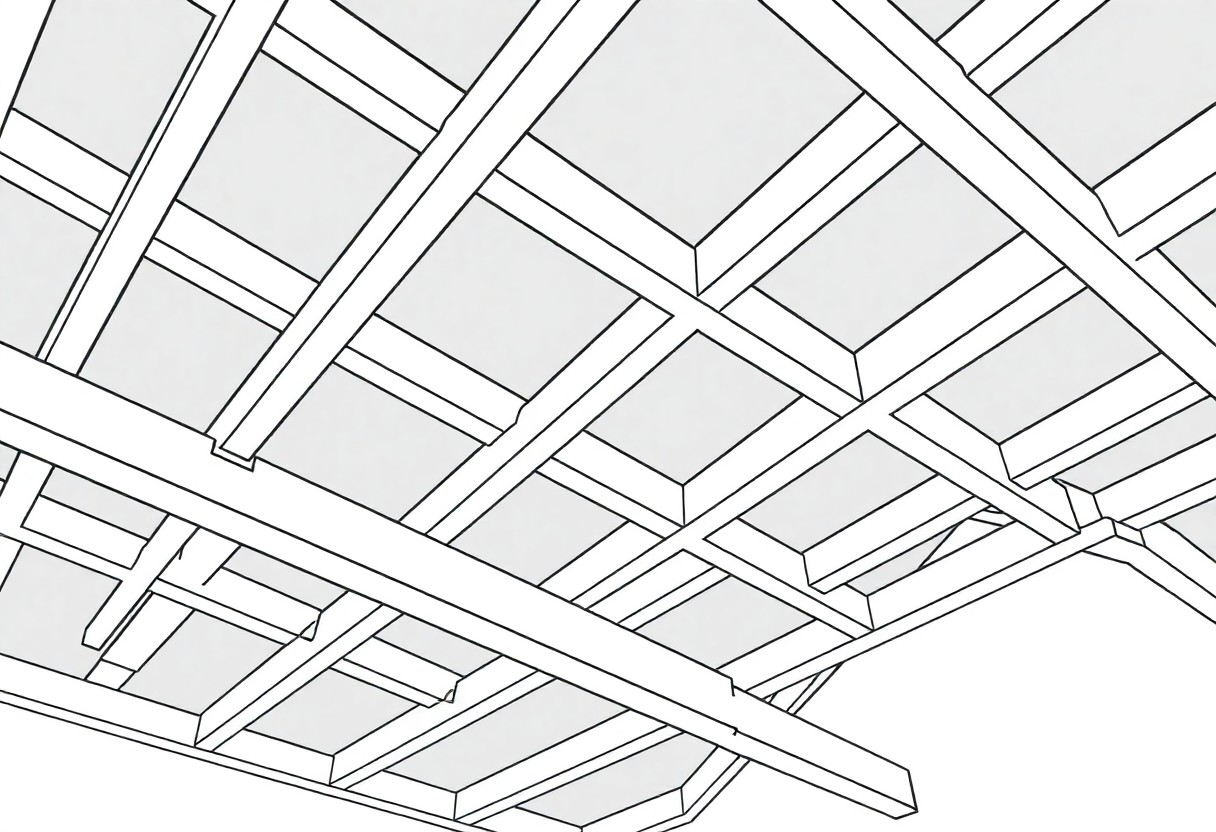
Ceiling Joist Span Tables and Sizing Guidelines
So, how wide should ceiling joists actually be? The answer depends on species, grade, spacing, and the load the ceiling must carry. As a general reference for common Douglas fir-larch, No. 2 grade lumber at 40 psf live load, typical spans look like this:
| Joist Size | 16″ On Center | 24″ On Center |
|---|---|---|
| 2×8 | ~13’6″ | ~11’8″ |
| 2×10 | ~17’0″ | ~14’6″ |
| 2×12 | ~20’0″ | ~17’6″ |
These figures are illustrative starting points, not a substitute for a stamped engineering calculation. Local building departments enforce span tables published in the IRC, and the American Wood Council maintains the current span tables and design values referenced by most U.S. codes. For engineered lumber, the USDA Forest Products Laboratory publishes research on load behavior in wood-based structural products, which is especially useful when comparing solid-sawn wide ceiling joists to LVL or I-joist alternatives.
Wide Ceiling Joists for Exposed Ceiling Designs
Homeowners planning an exposed-joist ceiling — no drywall, joists left visible as a design feature — face a different challenge than a standard covered ceiling. Because there’s no drywall skin tying the joists together, each individual member has to look and perform well on its own. This means wide ceiling joists are almost always the better choice for exposed applications, both structurally and visually.
For example, if you’re spacing joists at 24 inches on center for a cleaner, more open look, you’ll need a deeper joist than you would at 16 inches on center to hit the same span without deflection. For guidance on how to prevent sagging ceilings when joists are spaced 24 inches apart, the short answer is: size up. A 2×10 spaced at 16 inches may need to become a 2×12 — or an engineered LVL — at 24 inches to maintain the same stiffness.
Choosing Materials for an Exposed-Beam Look
Because exposed joists are visible year-round, appearance matters as much as strength. Douglas fir and glulam beams are popular for their clean grain and consistent finish. Meanwhile, engineered options like LVL (laminated veneer lumber) offer superior strength-to-depth ratios but a more industrial look, which some homeowners embrace and others prefer to hide with a wood veneer wrap.
Insulation and Fire Code Considerations for Exposed Joists
Without drywall to conceal insulation, exposed-joist ceilings usually require rigid foam board installed above the joists, on the roof deck side, rather than between them. In addition, some jurisdictions require a fire-rated finish or specific joist spacing for exposed conditions, so it’s worth checking local code before finalizing your design. If you’re also planning a taller, more open room to pair with your exposed joists, our guide to tall ceiling design principles covers proportion, lighting, and acoustic strategies that work well alongside exposed framing.
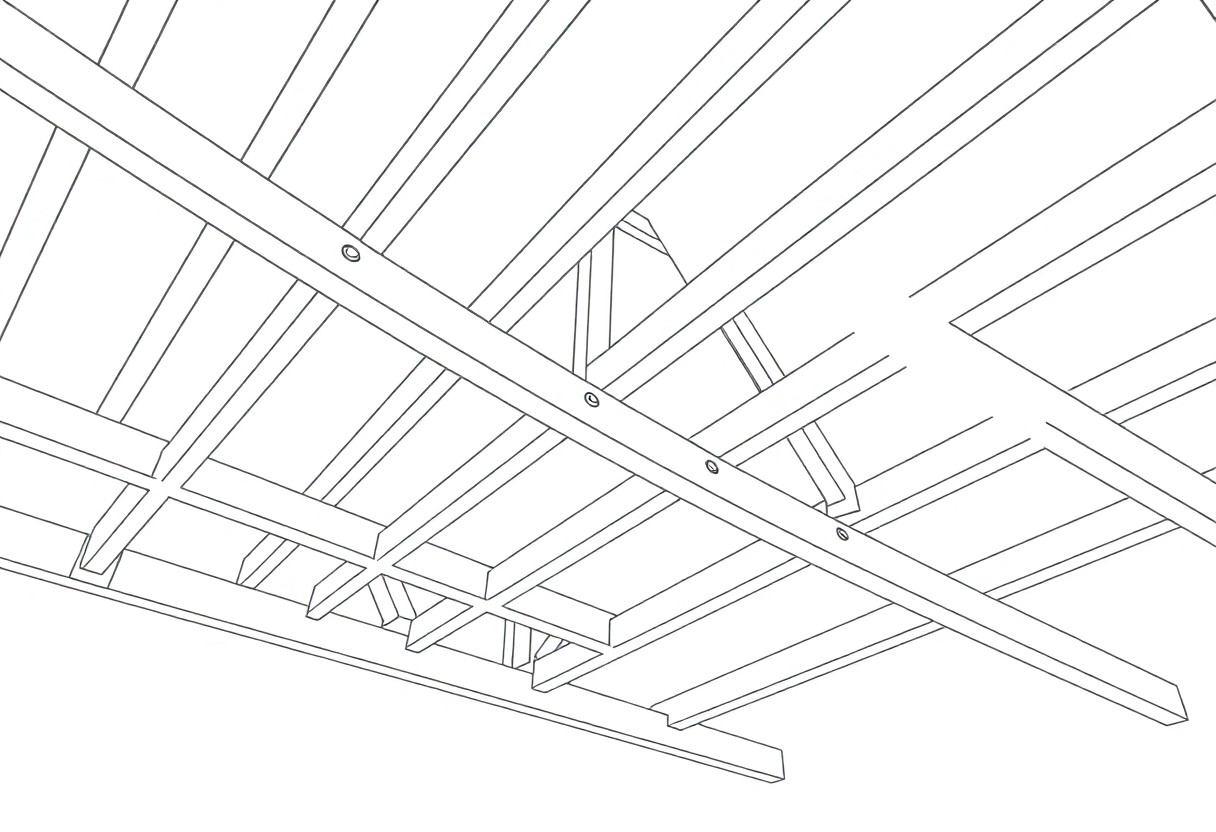
Types of Wide Ceiling Joists: Materials and Options
Once you know your required span and spacing, the next decision is material. Each option below offers a different balance of cost, strength, and workability.
| Joist Type | Best For |
|---|---|
| Solid Sawn Wood | Traditional framing and exposed-beam aesthetics; widely available and easy to work with. |
| Steel Joists | Long spans, pest resistance, and commercial-grade durability. |
| Engineered Wood (LVL/I-Joist) | Maximum load capacity per inch of depth; minimal warping or shrinkage. |
| Composite Joists | Balancing wood’s workability with steel’s strength for hybrid applications. |
| Open-Web Joists | Running plumbing, ductwork, or wiring through the joist cavity without drilling. |
Every one of these choices affects both structure and style. For a deeper breakdown of joist materials and framing terminology, browse our full joists resource hub, which covers related framing topics in more detail.
Step-by-Step: How to Install Wide Ceiling Joists
Once materials are chosen, installation accuracy determines whether your ceiling performs as designed. Follow these steps in order, and never skip the leveling or blocking stages.
- Measure and mark the layout: Calculate the total span and mark joist positions on both end walls at the correct on-center spacing before any cutting begins, so every joist lands exactly where the plan requires.
- Select and cut joists to length: Choose straight, properly graded lumber or engineered stock, then cut each joist a fraction longer than needed to allow for final trimming and square alignment.
- Install joist hangers or ledger supports: Attach code-approved metal hangers to the ledger board or beam at each marked location, using the fastener type specified by the hanger manufacturer for full rated capacity.
- Set and level each joist: Place every joist crown-side up into its hanger, check it with a level across its full length, and shim as needed before driving final fasteners.
- Add blocking and bridging: Install solid blocking or cross-bridging at mid-span to prevent twisting and to distribute point loads evenly across neighboring joists.
- Inspect and load-test the structure: Walk the completed frame, check for movement or bounce under normal foot traffic, and have a qualified inspector sign off before covering or finishing the ceiling.
Because cutting and lifting heavy, wide joists carries real injury risk, always use proper lifting technique, a second set of hands, and appropriate safety gear throughout the process.
Common Mistakes to Avoid With Wide Ceiling Joists
Measurement and Layout Errors
Miscalculating span or spacing is the single most common cause of a weak ceiling. Even a small error compounds across a full room, so double-check every measurement before cutting a single joist.
Inappropriate Spacing Techniques
Placing joists too far apart risks sagging and weak load distribution, while placing them too close wastes material and can restrict airflow needed for proper insulation performance. Consequently, spacing should always match the sizing table for your specific joist depth and species — not a rough guess.
Skipping the Engineering Review
A mistake many DIYers make — and one rarely addressed in casual forum advice — is skipping a structural review entirely when retrofitting or removing existing joists. Any project that alters load paths, especially exposed-joist conversions, should be reviewed by a licensed structural engineer before work begins.
Using the Wrong Fasteners
Undersized nails or mismatched hangers quietly undermine even a perfectly sized joist. Always match fasteners to the hanger manufacturer’s specification, since substituting a smaller nail can cut a hanger’s rated capacity dramatically.
Maintaining Wide Ceiling Joists Over Time
- Check regularly for moisture stains, condensation, or water damage near roof penetrations.
- Inspect for pest activity, especially in older wood-framed ceilings.
- Keep attic spaces properly ventilated to prevent mold and rot.
- Watch for new cracks, splits, or visible deflection in exposed joists.
- Schedule a professional inspection every few years, particularly after heavy snow loads or renovations.
Small cracks or splits can often be filled with wood filler or epoxy, but significant sagging calls for temporary shoring and a professional assessment right away. For related mechanical planning around your ceiling, such as running ductless systems through joist cavities, see our Quick Tip: Ductless Mini Splits guide. In addition, our broader ceiling project archive covers finishing, insulation, and repair topics that pair naturally with joist maintenance.
Cost of Wide Ceiling Joists: What to Budget
Beyond material costs, labor is often the larger line item when installing wide ceiling joists. Solid-sawn lumber remains the most budget-friendly option, while engineered wood and steel command a premium for their added strength and consistency. As a rough guide, expect engineered joists to cost 20–40% more than comparable dimensional lumber, offset by fewer joists needed per span and lower long-term repair costs. Labor typically runs higher for retrofit or exposed-joist projects, since existing structure must be carefully supported during the swap.
Even so, the upfront investment in wide ceiling joists usually pays off through fewer repairs, better insulation performance, and stronger resale value. Consulting a structural engineer before purchasing materials can also prevent costly over-ordering or under-sizing mistakes.
Frequently Asked Questions About Wide Ceiling Joists
What are wide ceiling joists and why are they beneficial?
Wide ceiling joists are structural framing members with greater depth than standard joists, giving them enhanced stiffness and load capacity. This reduces sagging, distributes weight more evenly for heavy fixtures, and allows for thicker, more effective insulation.
How do I install wide ceiling joists correctly?
Start by determining the correct spacing — typically 16 or 24 inches on center — based on load and span requirements. Then cut, hang, level, and block each joist carefully, following local code and, ideally, a structural engineer’s sign-off before finishing.
Can I retrofit my home with wide ceiling joists?
Yes, though retrofitting typically involves removing existing joists and reinforcing load-bearing walls to handle the new framing. Because this alters the home’s load path, a structural engineer or qualified contractor should assess the project before work begins.
What is the standard spacing for wide ceiling joists?
Most residential ceilings use 16-inch or 24-inch on-center spacing. Wider spacing at 24 inches generally requires a deeper joist to maintain the same stiffness, which is especially important for exposed-beam ceilings.
Do exposed ceiling joists need to be wider than joists hidden behind drywall?
Often, yes. Without drywall tying joists together, each exposed joist must independently resist deflection and look consistent from below, which typically pushes homeowners toward wider, straighter, or engineered lumber options compared to a standard covered ceiling.
Final Thoughts on Wide Ceiling Joists
In the end, wide ceiling joists are one of the most impactful structural upgrades you can make to a home, whether you’re building new, converting an attic, or designing an exposed-beam feature ceiling. By matching joist depth, span, and spacing to your actual load requirements — and never skipping the engineering review — you’ll avoid sagging, cracking, and costly rework down the line. For more framing and ceiling planning resources, browse our full ceiling design collection for additional project ideas.